
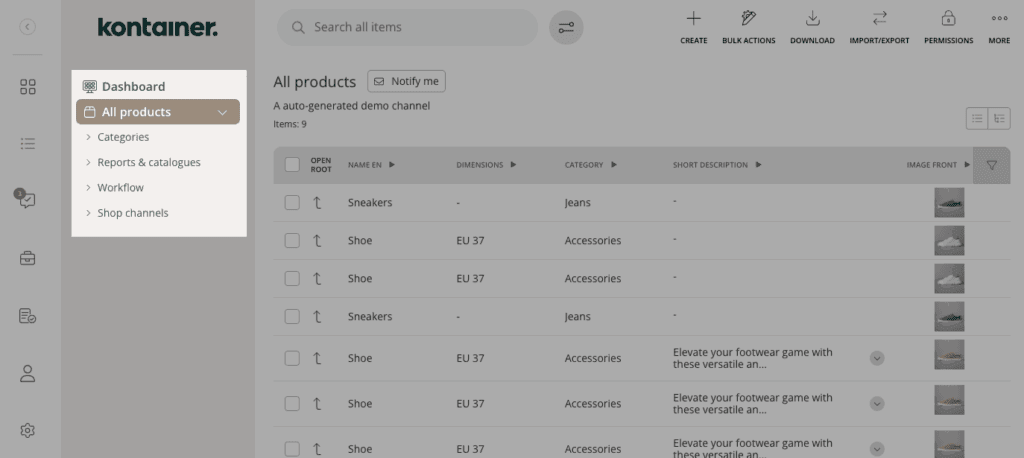
Main View
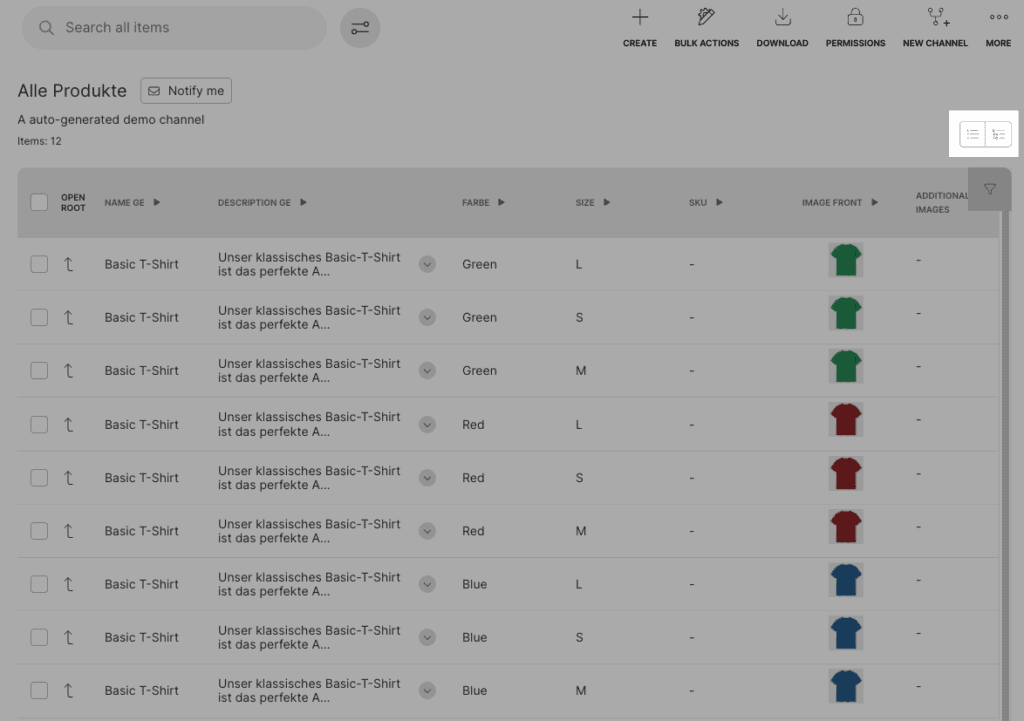
The Main View functions as a powerful, customizable interface similar to an advanced spreadsheet. It allows you to manage and display product information in a structured and efficient way.
You can choose which data fields to display in the table, tailoring the view to suit your workflow and business needs. The Main View supports two viewing modes:
- Variant Mode: Displays each individual product variant as a separate row.
- Grouped Mode: Displays parent products with the ability to expand and view associated variants underneath.
Product tree
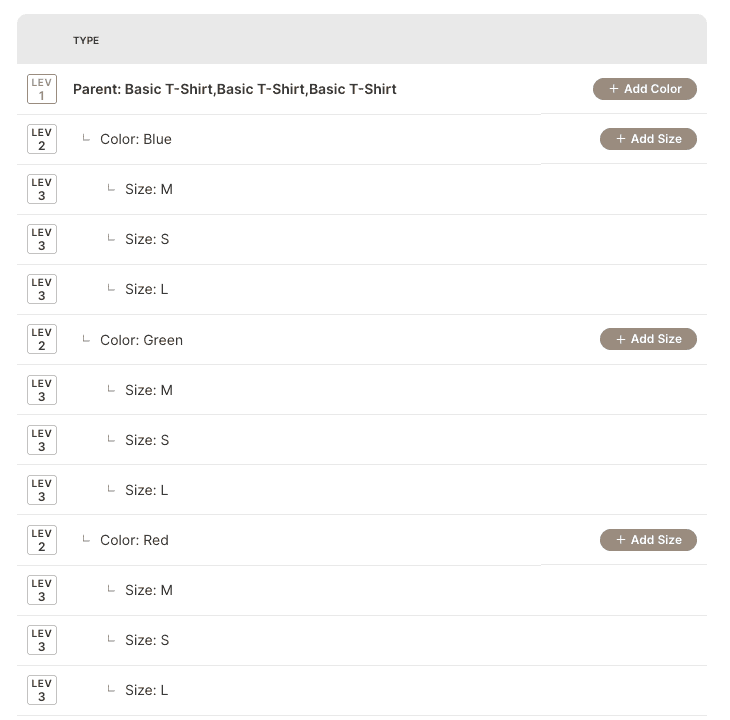
The Product Tree defines the hierarchical structure of products within a product family. It determines how variations of a parent product are organized.
For example, consider a T-shirt product:
- The first level of variation might be Color.
- Within each color, there may be a second level of variation for Size.
When setting up your product data (explained further in the next section), each field can be assigned to a specific level of the product tree. Here's how this typically works:
- Parent Level: Shared information such as product name, price, and description.
- First Sub-Level: Attributes that vary at the first level, like color.
- Lowest Level (Variant Level): Unique identifiers such as size and SKU, which define a specific product variant.
By aligning data fields with the appropriate level in the product tree, you ensure accurate and organized representation of your product catalog.
PIM fields
The flexibility of the Product Information Management (PIM) system allows you to create and configure as many data fields as you need to support your product catalog. These fields are fully customizable and support various input types to meet different data requirements.
You can define fields in a wide range of formats, including:
- Text fields (short or long-form)
- Strings
- Dropdown/select fields
- Checkboxes
- Multi-select fields
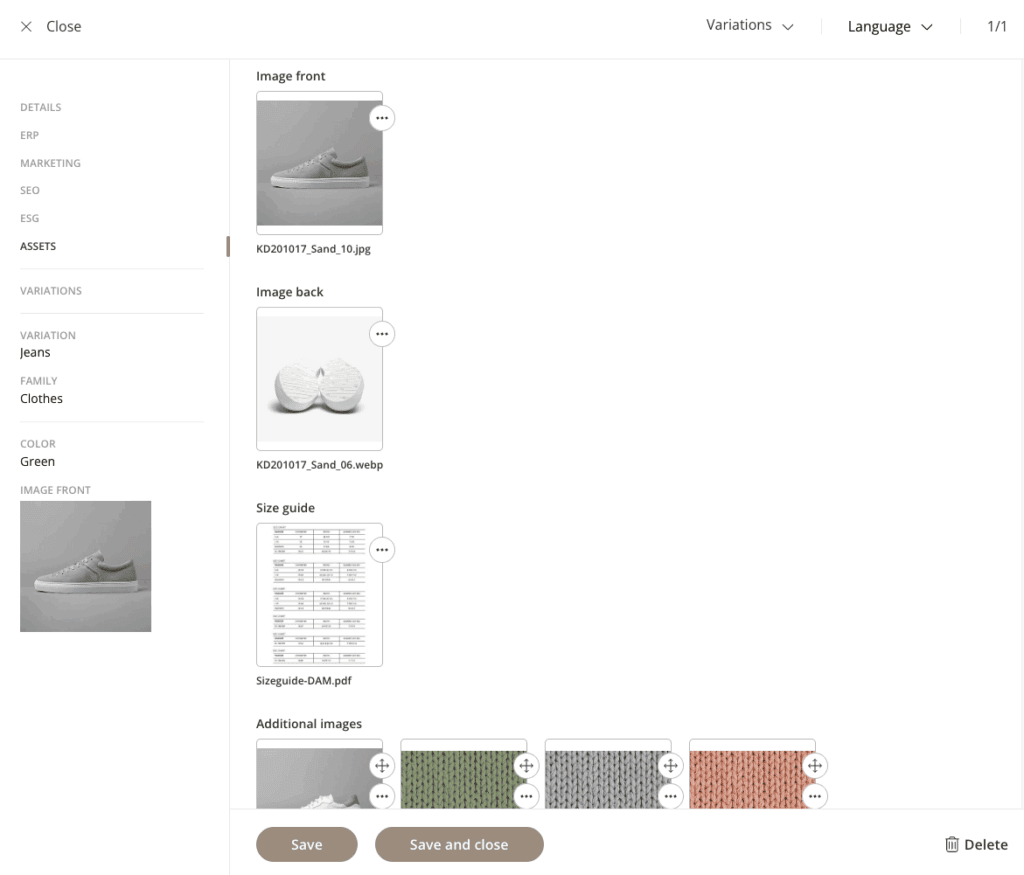
In addition, you can create file-bound fields that integrate with your Kontainer Digital Asset Management (DAM) system. These allow you to link directly to media assets such as:
- Packshots
- Product videos
- Size guides
- Instruction manuals
PIM fields can include dimensions, which allow them to adapt to different contexts. For example:
- A description field may have a language dimension, enabling you to provide content in English, German, Spanish, and more.
- A retail price field may include a currency dimension, supporting USD, EUR, GBP, etc.
These dimensions ensure your product data is accurate and relevant across multiple markets and channels.
When creating dropdown fields, you can link them to predefined resources. For instance, a color selection field might allow the user to choose "Red." Behind the scenes, the system will also store all associated metadata for that resource, such as:
- HEX codes
- Marketplace-specific naming conventions
- Visual previews
This centralized approach helps maintain consistency and enriches the data used across your sales and marketing channels.
These resources can be edited in the resource settings: Resources > PIM:
To keep things organized, PIM fields can be grouped into context-specific tabs. For example:
- ERP Data: Fields populated from your enterprise resource planning system
- SEO: Fields optimized for search engines
- Media: Fields linking to files or visual content
- Custom Tabs: You can create tabs based on your specific workflow or data structure
You can control which PIM fields are visible on a per-channel basis. This is especially useful for tailoring data to specific platforms or marketplaces. (We’ll dive deeper into this later.)
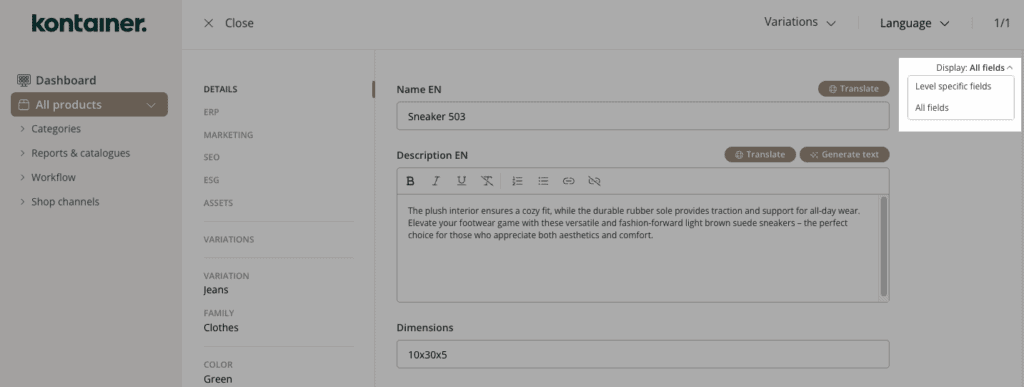
Field Display Modes: You can switch between displaying all fields or level-specific fields—meaning only those fields that apply to the current level of the product hierarchy (parent, variation, or variant).
Why Are Some Fields Greyed Out?
While working with PIM fields, you may occasionally notice that certain fields appear greyed out. This behavior is expected and typically occurs for one of two reasons:
- Read-Only Fields:
Some fields, such as those populated from your ERP system, are set to read-only. These fields cannot be edited directly within the PIM, as they are controlled by external data sources. - Level-Specific Fields in All Fields View:
If your display mode is set to show all fields, you might see fields that are not applicable to the current product level (e.g., parent vs. variant). These fields will be greyed out because they belong to a different level in the product hierarchy and are not editable in the current context.
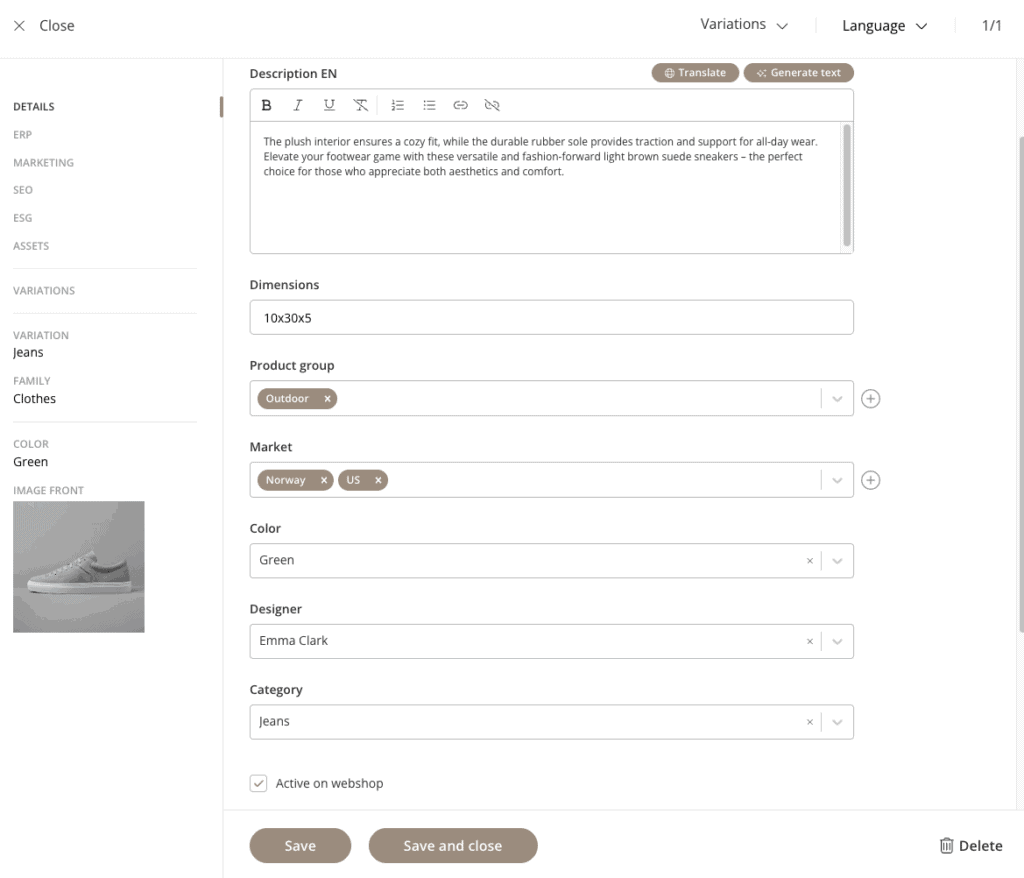
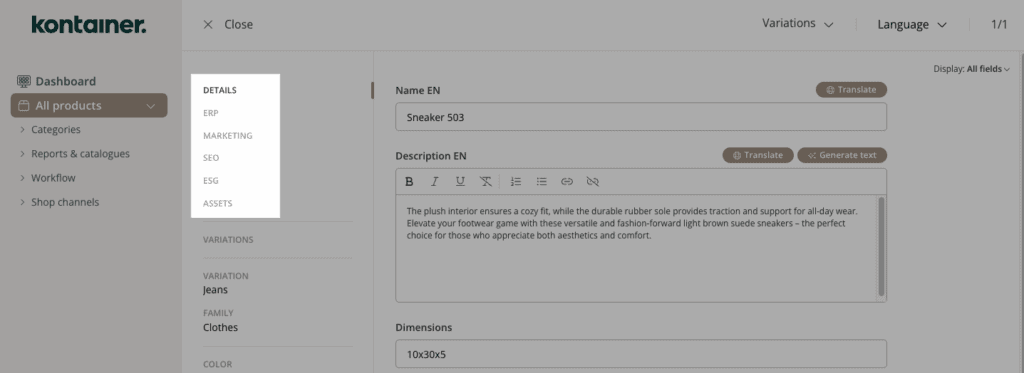
Edit data
If a user has “Write” permissions (more on that later), they can edit the content of any field they have access to. The way you edit depends on the field type:
- Enter text or numbers directly
- Select from a dropdown list
- Attach files from the DAM
For fields connected to media (like packshots or videos), click the “plus” icon to open the DAM. From there, you can browse using the folder structure or search for the relevant asset—such as a size guide, product image, or video.
Bulk edit
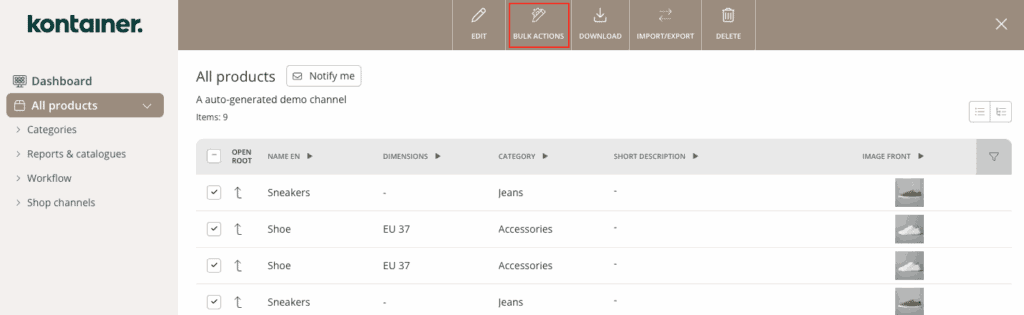
To make changes across multiple products at once:
- Select the desired products or variations
- Click “Bulk Actions”
Bulk Edit is only available in Variant View
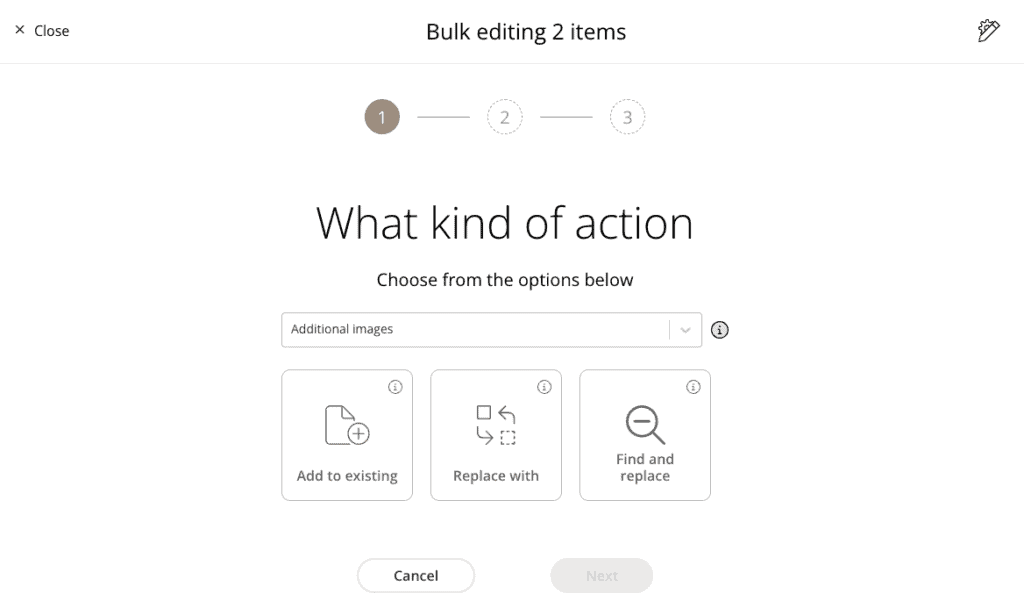
Then follow these steps:
- Choose the attribute/data field you want to update
- Select an action (selectability of actions will depend on the field type):
- Add to existing values
- Overwrite existing data
- Find & replace
- Enter or select the new value to apply
- Click “Confirm”
Tip: Leave the value field empty if you want to clear or remove existing data from the selected field.
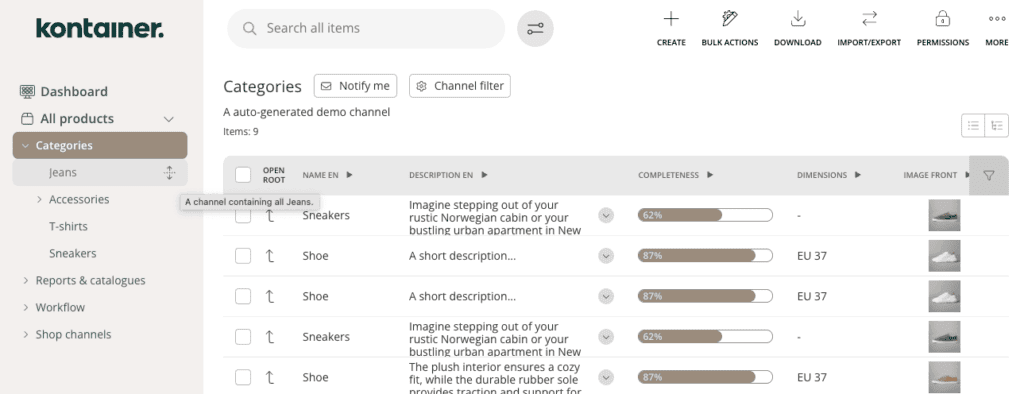
Channels
Channels are smart, dynamic selections of products based on specific criteria. They automatically display products that meet the conditions you define — making it easier to manage and monitor your product data.
You can use channels to:
- Display products from a specific category (e.g. T-shirts)
- Identify products missing key data, such as translations or images
- View all products currently live on your webshop or marketplace
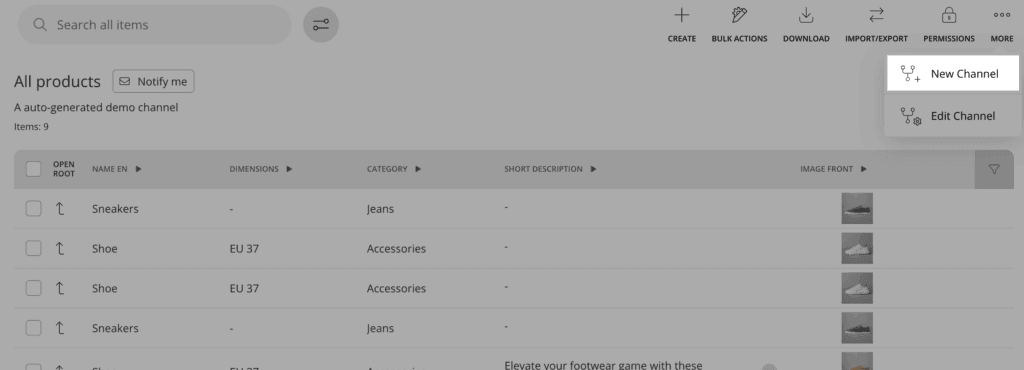
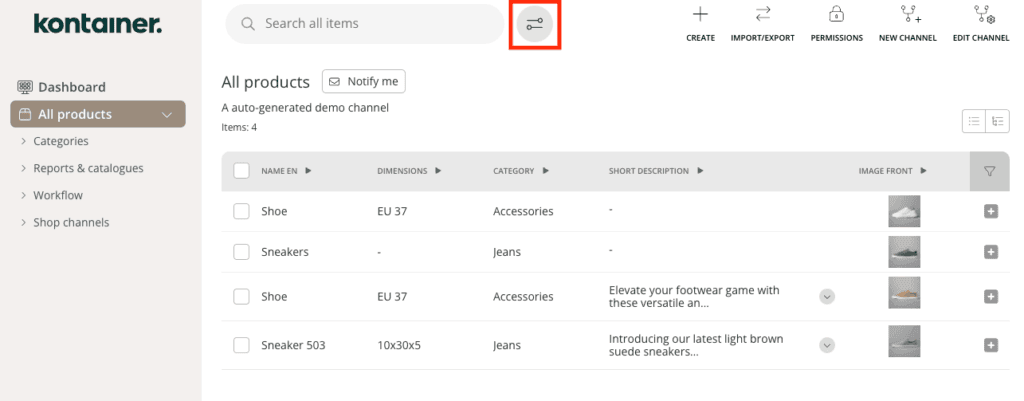
Create a Channel
In the main view of Kontainer PIM, go to the upper right corner and click “New channel.”
Depending on your current view — Grouped Mode or Variant Mode — the New Channel option might be located under the More menu (⋯).
A new channel will always be created as a sub-channel of the channel you are currently in. If you are in the root-channel (main channel with all products), the channel will be created on the first level.
These are the steps for creating a channel:
1. Name Your Channel
Give your channel a clear and descriptive name.
Example: "Shopify Feed – DE" for products continuously fed to your German Shopify store.
2. Select Relevant Fields
Choose only the fields needed for this channel.
For example, if this is for a German webshop, you might:
- Skip English language fields
- Include only Euro pricing
- Exclude internal fields like approval notes
You can also select all fields and deselect the ones you don’t need.
3. Sort Fields
Drag and drop to reorder fields so the most important ones appear first in the table view.
4. Add a Channel Description (Optional)
Add context to the channel by writing a description.
This will appear at the top of the main channel view to help users understand its purpose.
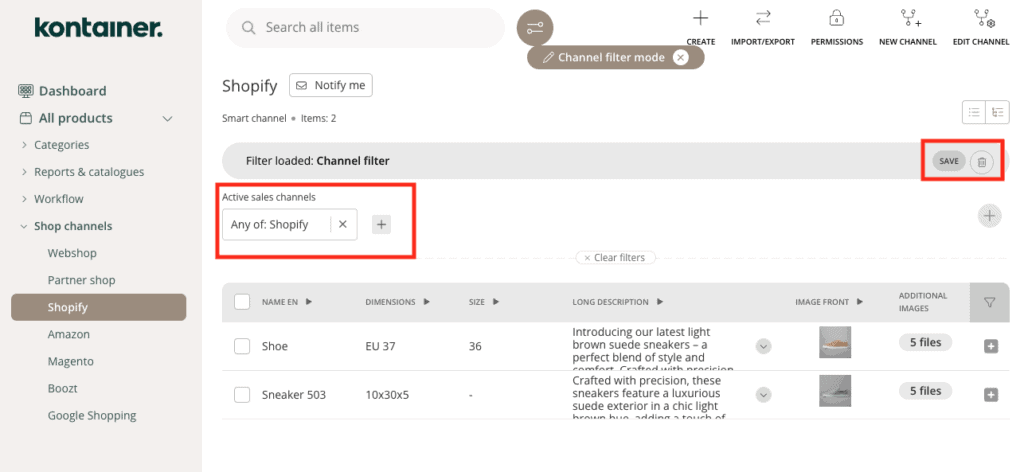
5. Create a Smart Channel with Filters
Apply dynamic filters to automatically populate your channel with relevant products.
Example filter: Active Sales Channels = Shopify
This ensures the channel always shows products currently sold on the specified Shopify store.
Don’t forget to save your smart filter.
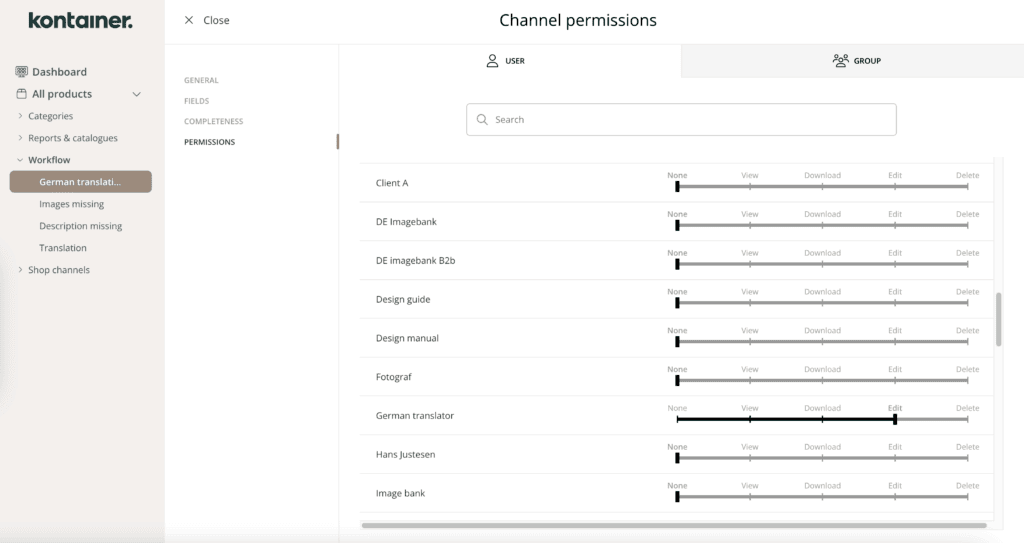
Setting Channel Permissions
Decide who can access the channel and what they can do.
Right-click on a channel or navigate to a channel and click “Edit channel” to set and adjust permission settings.
Permissions can be assigned to individual users or user groups and are managed through the following permission levels:
- None (hide channel)
- View
- Download
- Edit
- Delete
Editing channels
You can change a channel’s settings at any time.
To edit a channel:
- Right-click the channel and choose “Edit channel”, or
- Open the channel and click “Edit channel” in the top right corner
You can:
- Rename the channel
- Update the description
- Add or remove fields
- Adjust permissions
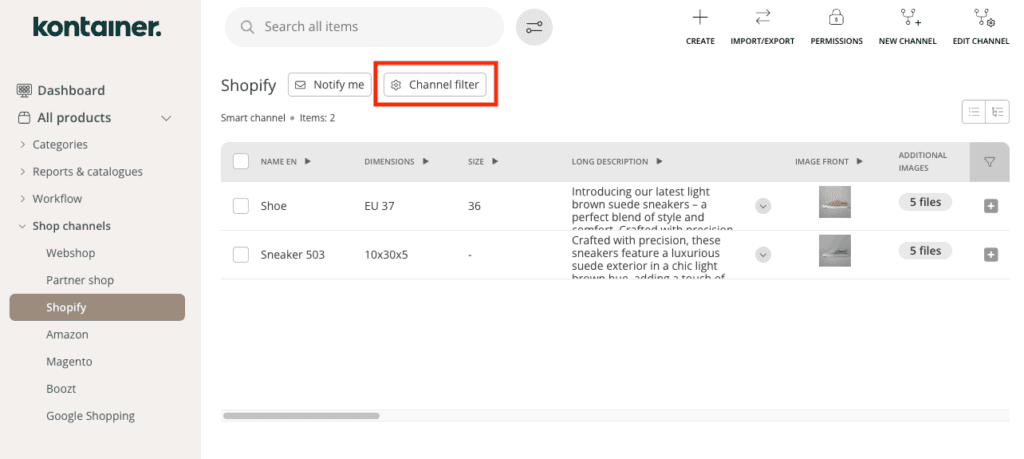
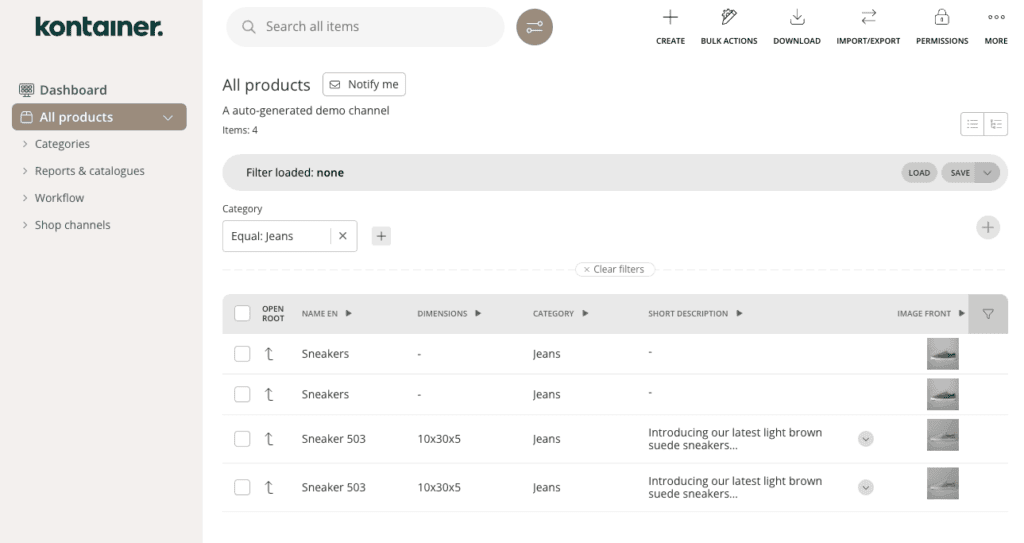
Filter in channels
In addition to the smart filters set at channel level, users can apply additional filters at any time to narrow down the product view.
For example, within the Shopify channel, a user might filter by Product Category = Jeans to make bulk edits or export a subset of data.
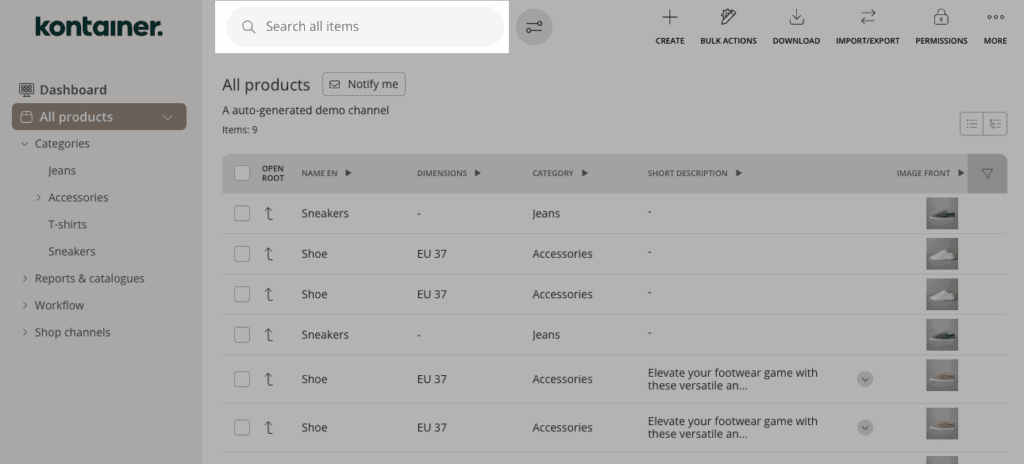
Search in channels
All users can use the powerful search tool that indexes all data fields. The search function looks only within the current channel.
For instance, type in an EAN number, a product name, etc.
Sorting channels
The order of channels can easily be sorted by dragging them.
This is only possible on the same hierarchical level the channel is currently on. Meaning, you cannot move sub-channels one level up and vice versa.
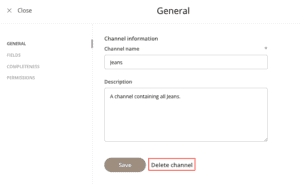
Deleting a channel
To delete a channel:
- Click “Edit channel”
- Go to the General tab
- Click “Delete Channel”
New product creation
Creating new products in Kontainer PIM is straightforward.
In many setups, new products are typically created in external systems such as an ERP, and then synced automatically to PIM. However, it's also entirely possible — and in some cases, beneficial — to create products directly within Kontainer PIM.
How to Create a Product
- Click “Create” in the upper right corner of your PIM interface.
- Select a Product Family, then choose the relevant Variation.
Not sure what Families and Variations are? Read more about key concepts in PIM here.
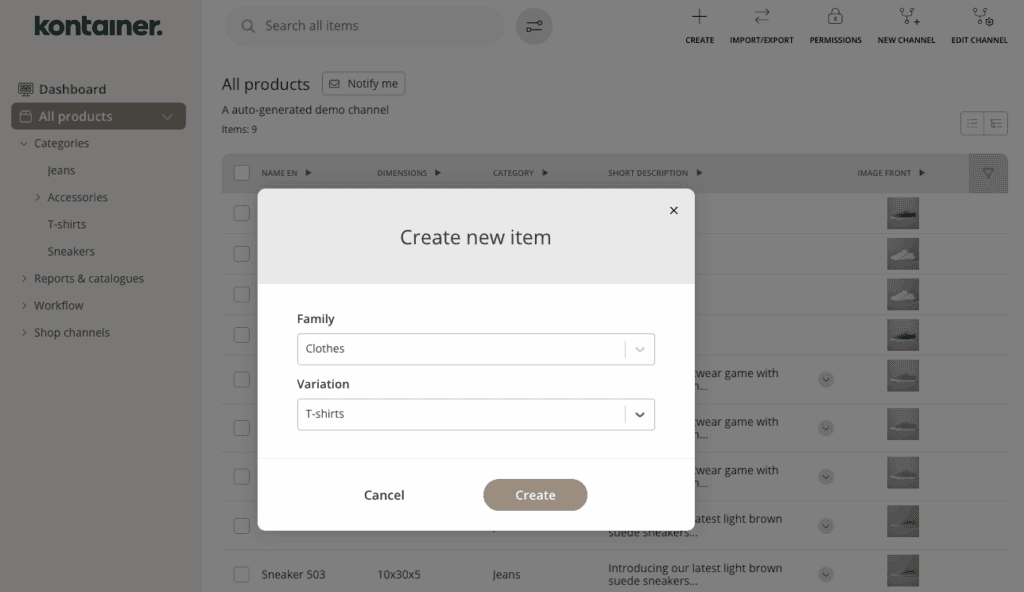
After selecting a family and variation, you’ll be taken to the product edit form. This form will display all the relevant data fields structured according to the hierarchy of the selected product family and variation.
In some workflows, you may only need to enter a SKU or Product ID — and the remaining data will automatically be populated via integration with other systems or databases.
Duplicate a product
To duplicate a product use the three-dotted menu on the product. A duplication will include any variations and resources.

New Variations, Families, Data Fields, or Resources?
If you need to create new variations, families, data fields, or resources, feel free to reach out to Kontainer Support — we're happy to assist.
Alternatively, if you'd prefer to manage these configurations yourself, we offer access to a System Admin Tool. This requires a brief onboarding session to get started.
Contact us to learn more or request access.