Personalize the user experience of your Kontainer by adding information such as contact details, social media links, and a brand message.
The brand section is a useful place to welcome users, reduce friction and enhance their experience of your Kontainer.
Watch the video above or follow the step-by-step guide.
Contact details, branding or welcome messages
The information you add in your Brand Section will be visible wherever users are within Kontainer, so it should be generic. Something like:
- Contact details
- Welcome message
- Trademark information
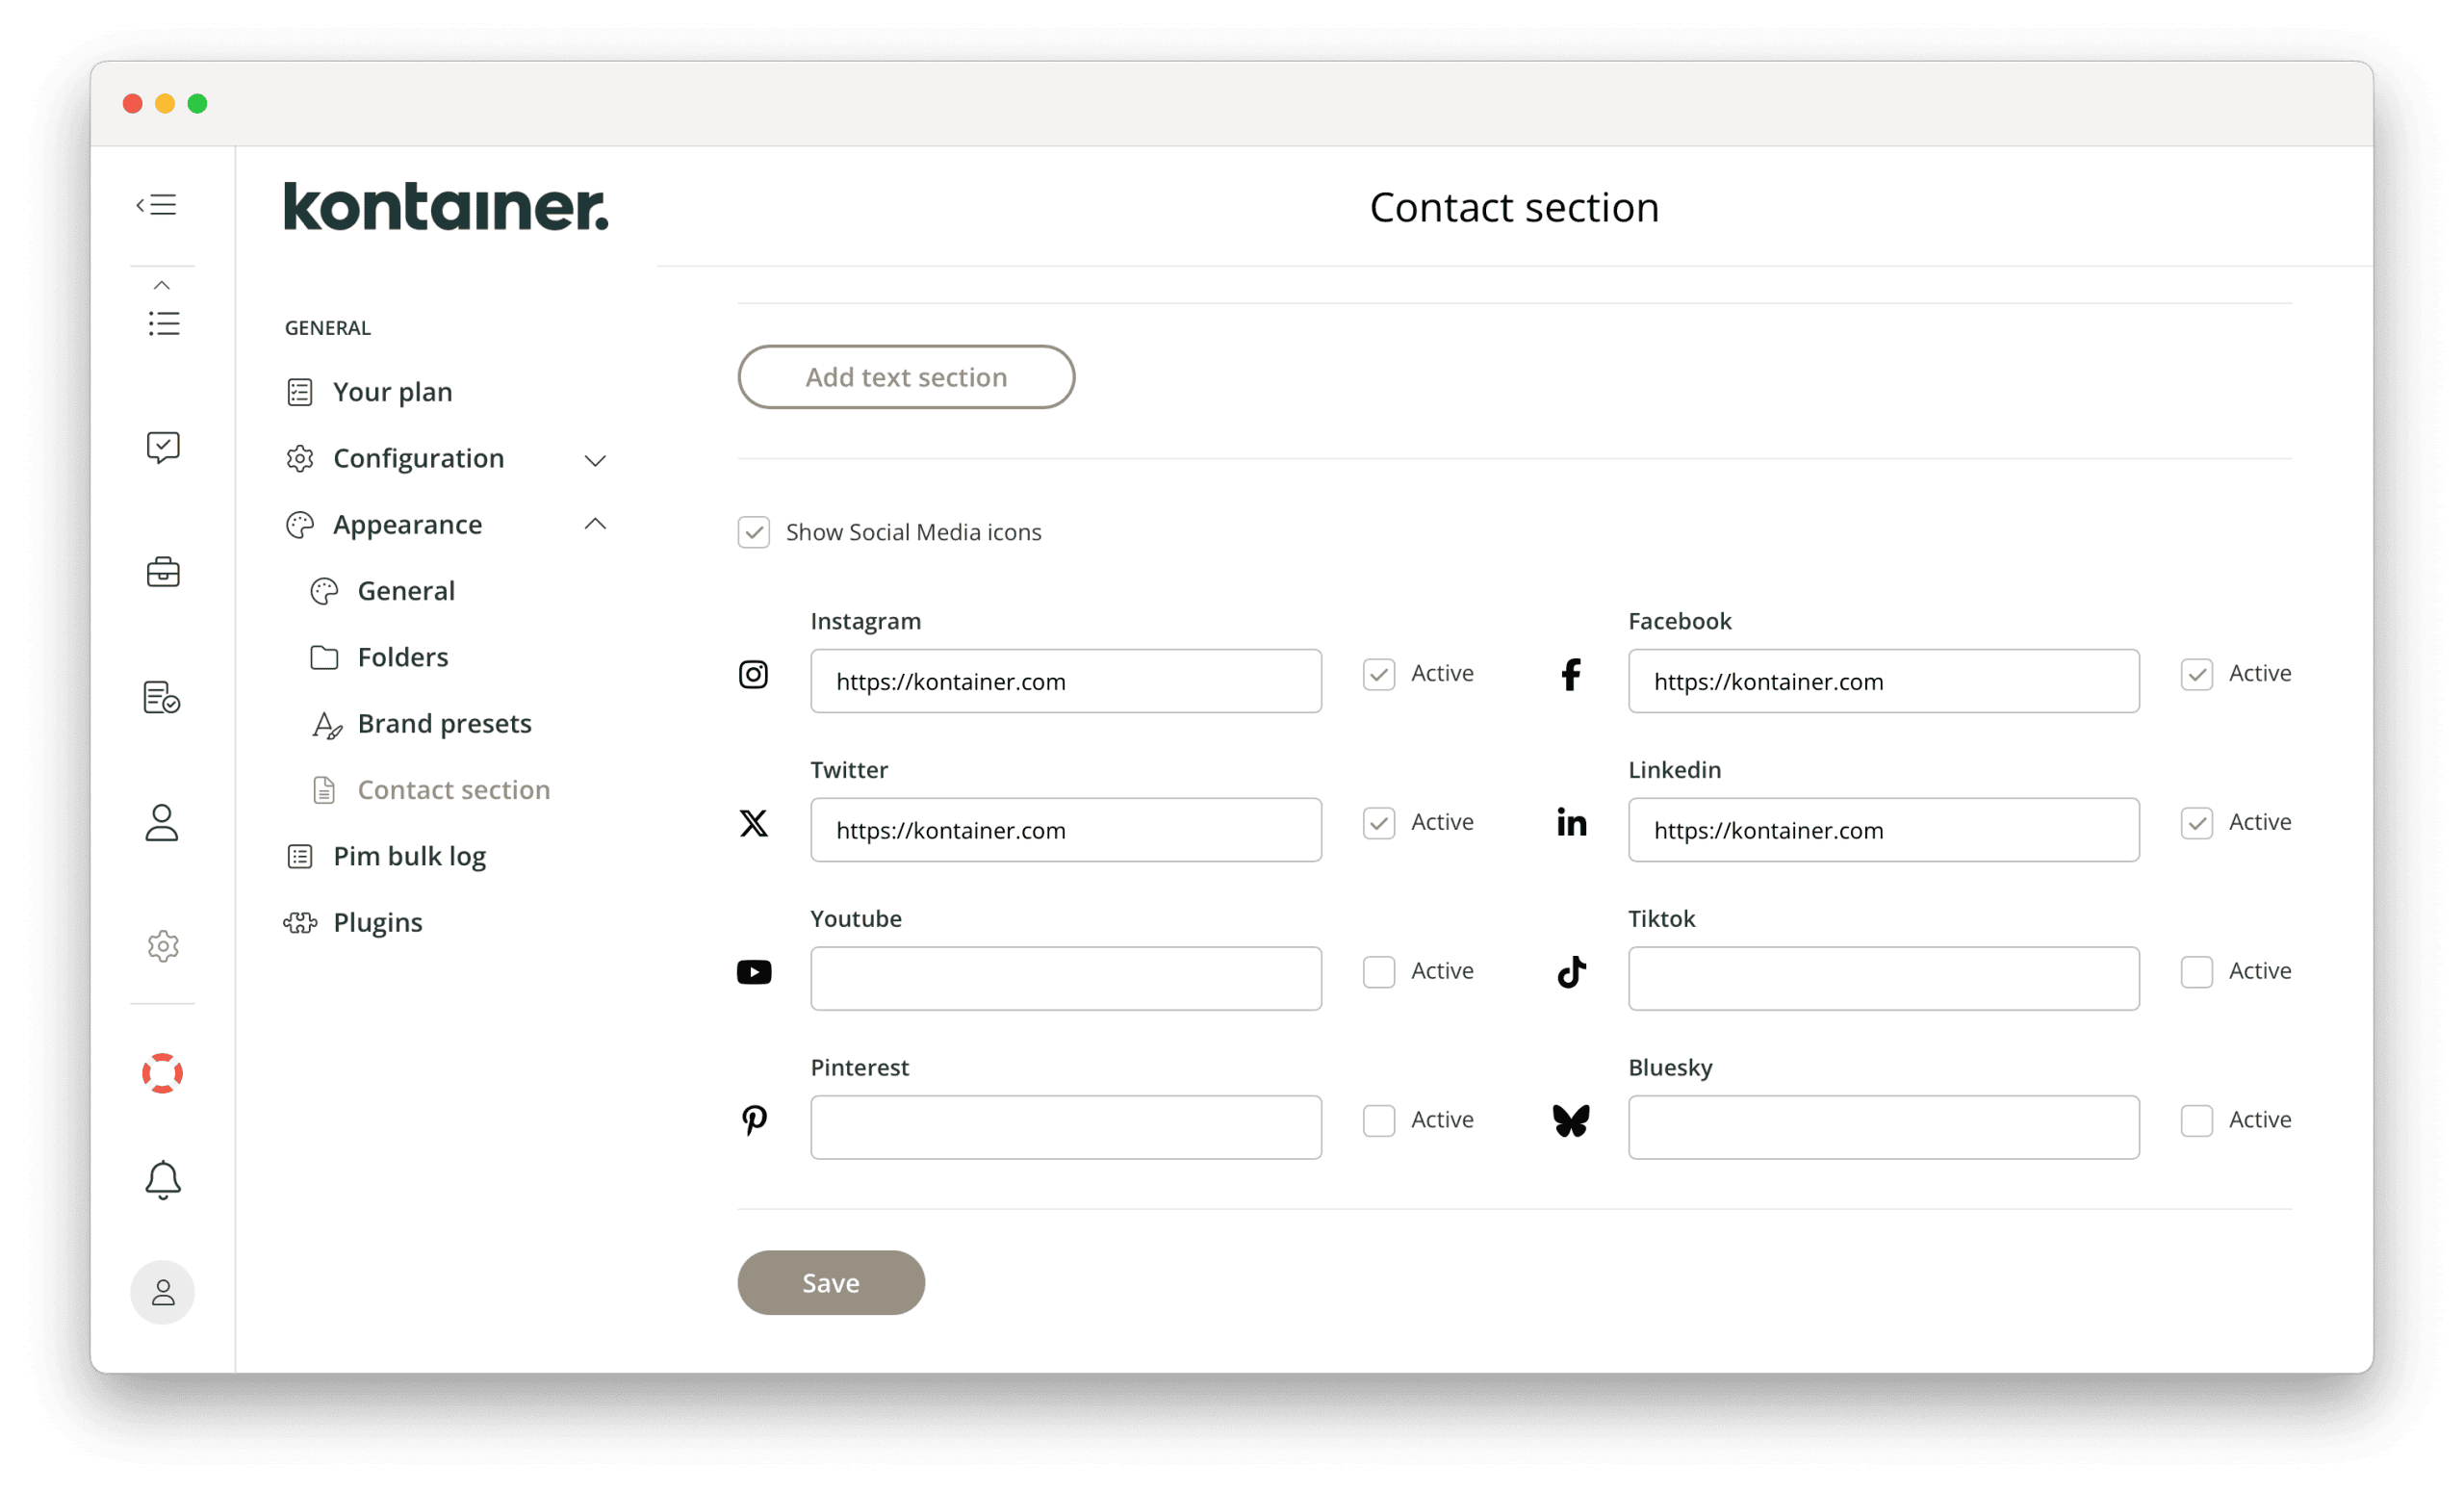
- Social media links
As an Admin User, you will not see this section, so make sure to preview what it will look like for your end-users.
If you have any questions, please get in touch.
Step-by-Step Guide
Step 1: Open Kontainer Settings
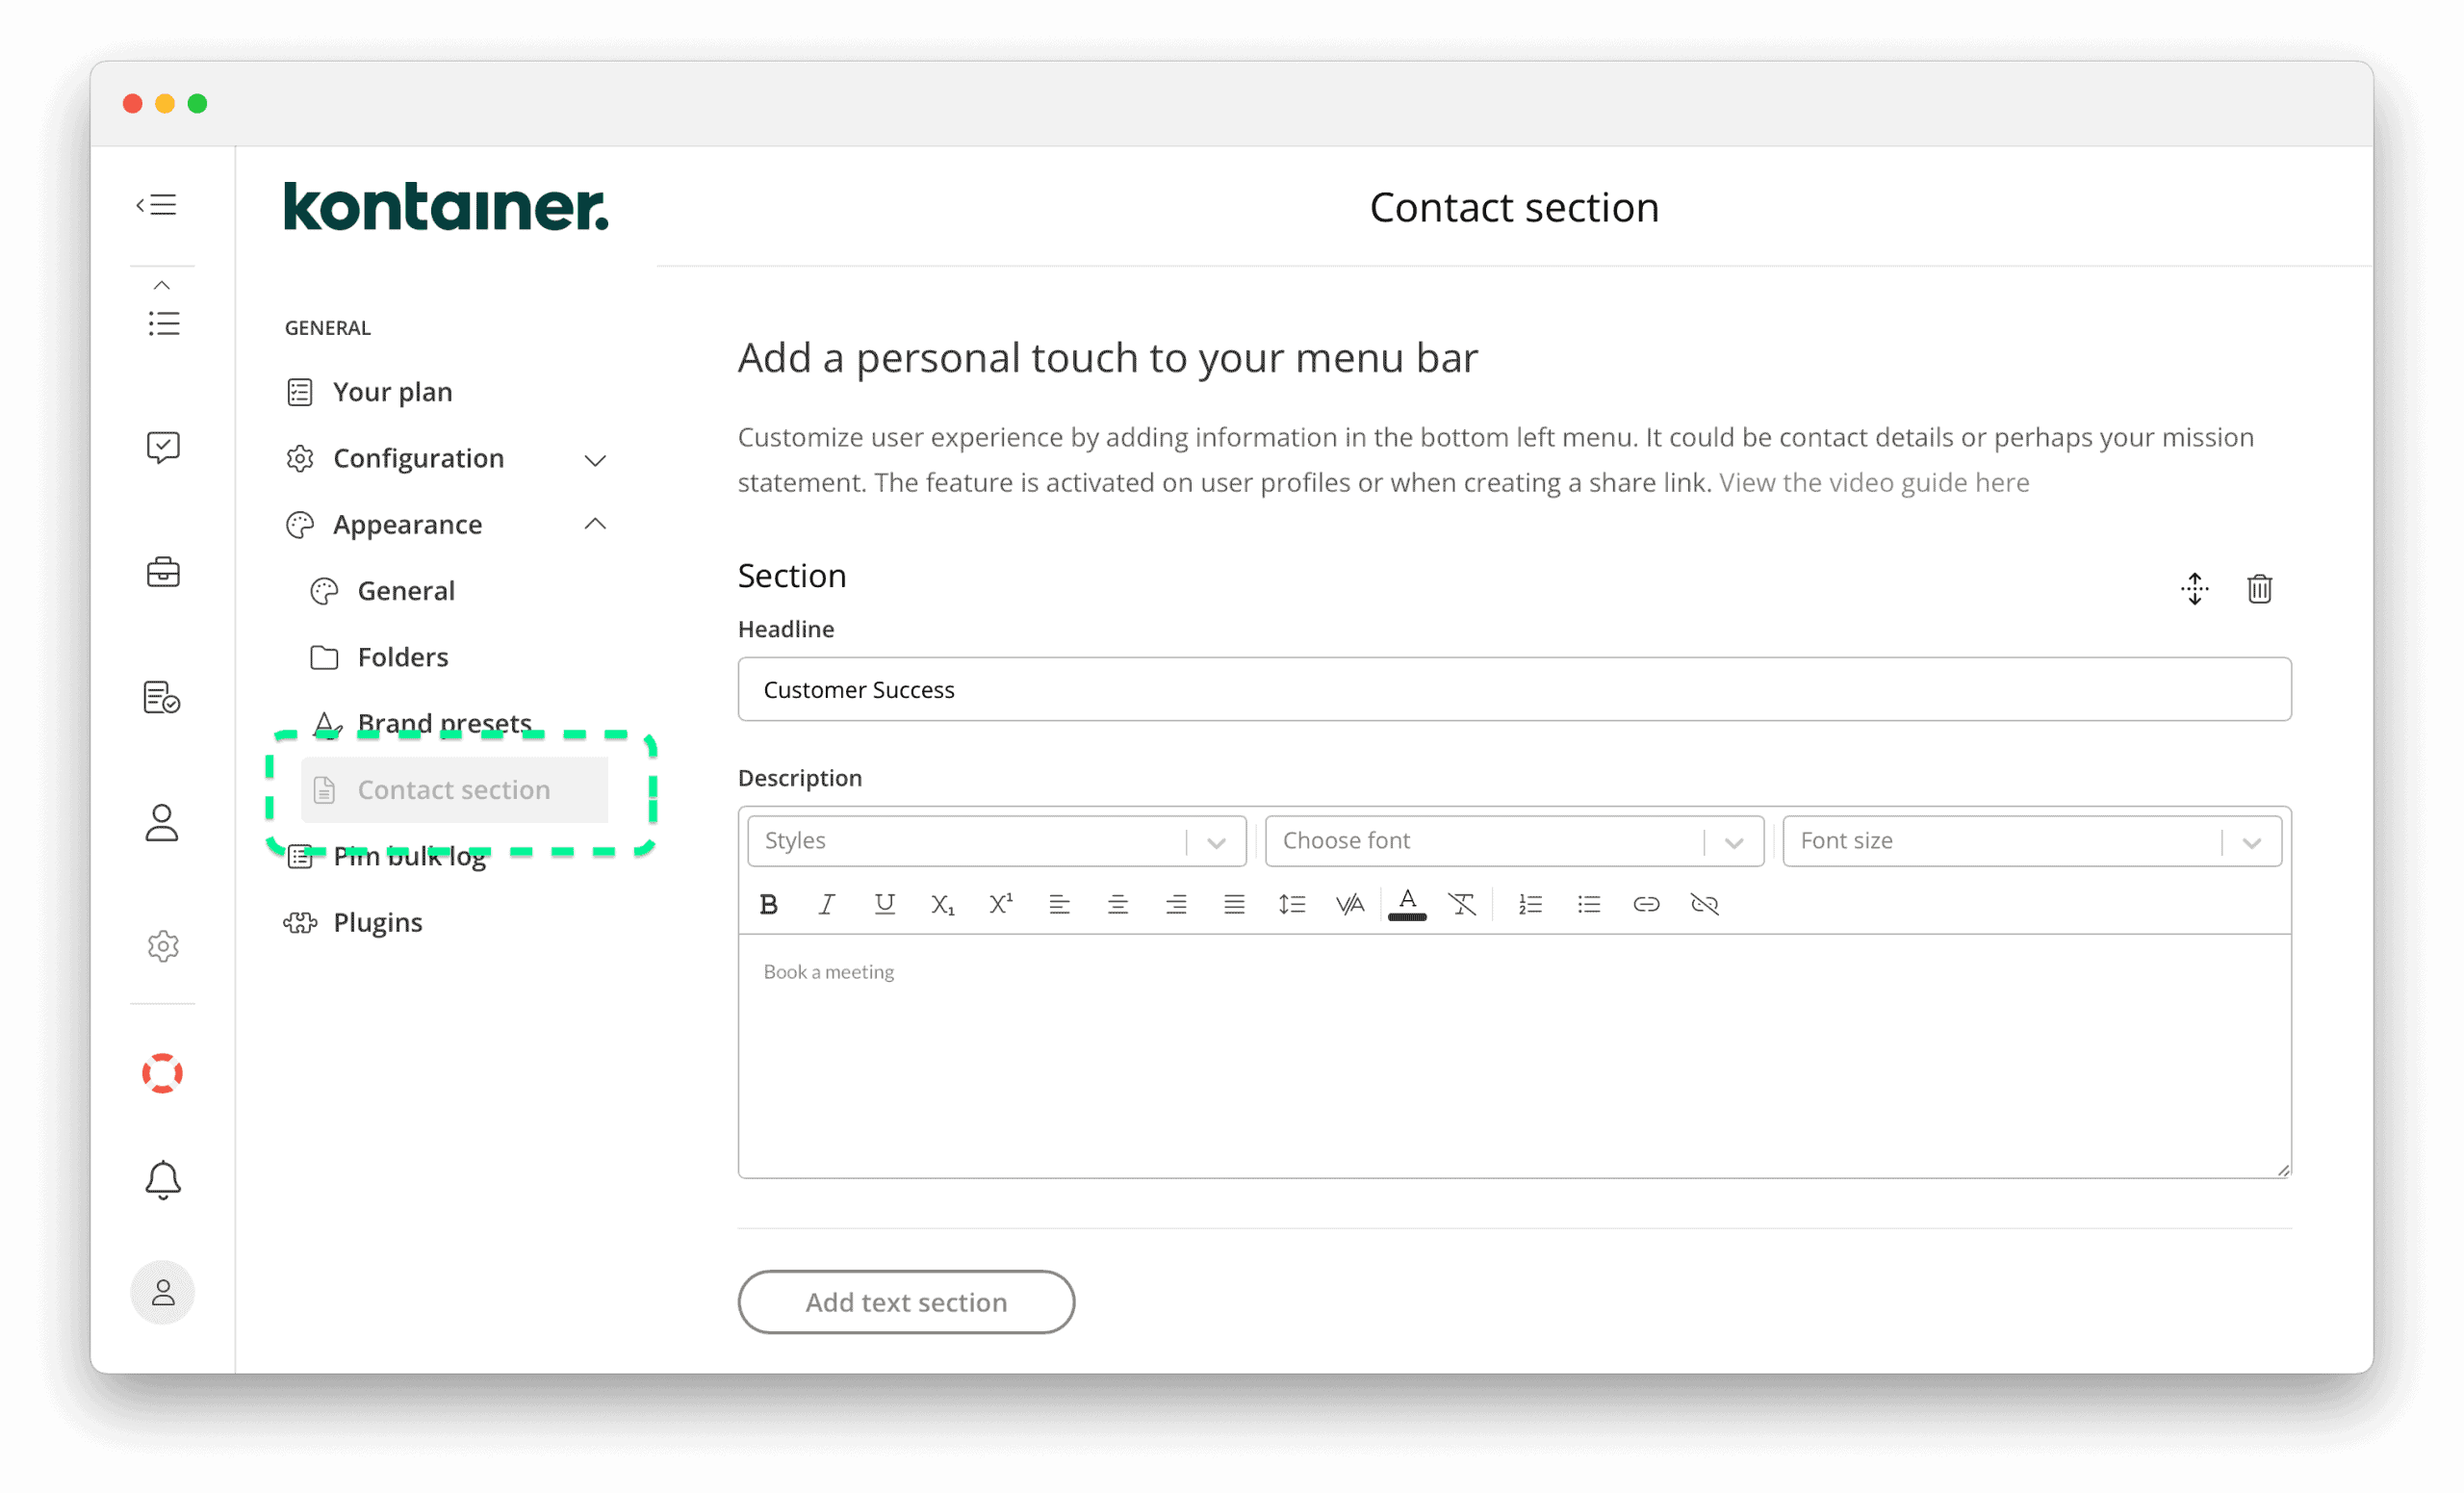
Log in to Kontainer as an Admin User and navigate to Settings/Appearance/Contact section in your far left menu.

Step 2: Add sections
Add as many sections as you need. The Headline cannot be formatted, but the rest of the text can.
Remember to Save your changes.
Step 3: Social Media Links
If you would like to use the social media icons/links, they can be added below.

Step 4: Preview Your Brand Section
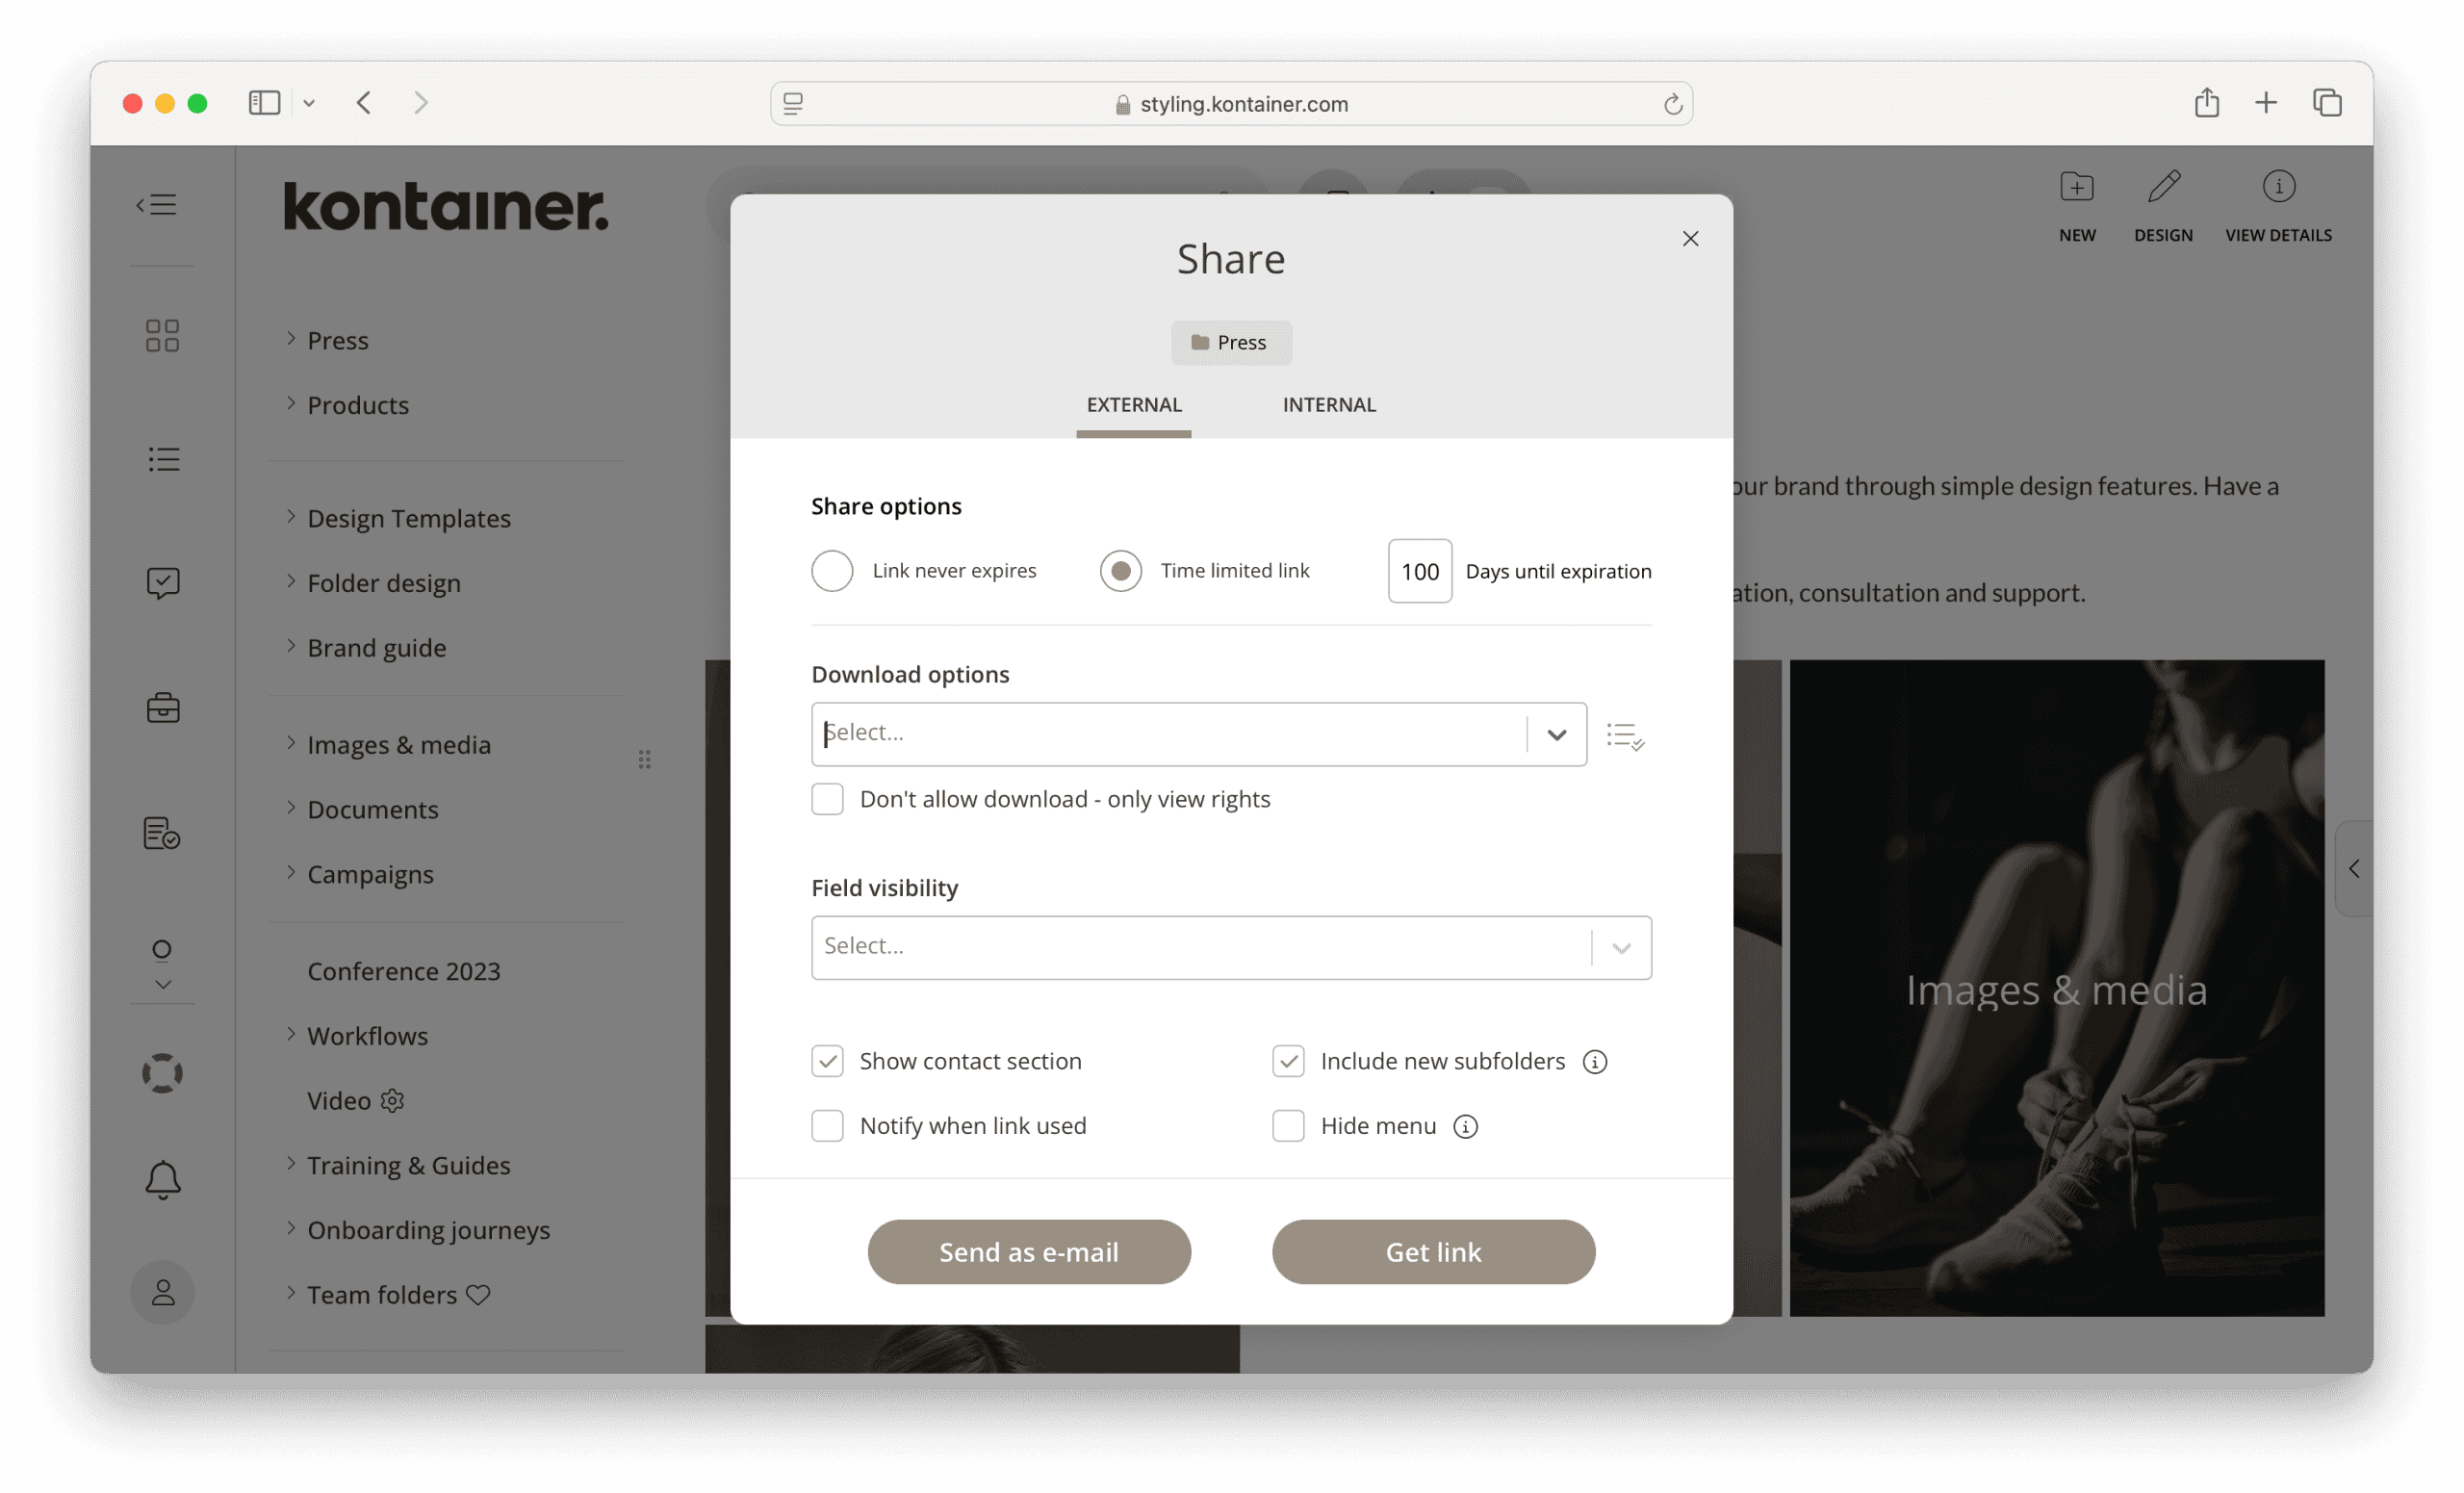
To preview your Brand Section, create a share link to one of your folders and paste the URL into a new browser window.
(If you use the same browser you are already working in, you will need to log back in as your own user)

That’s it, really. Let us know how you get on.